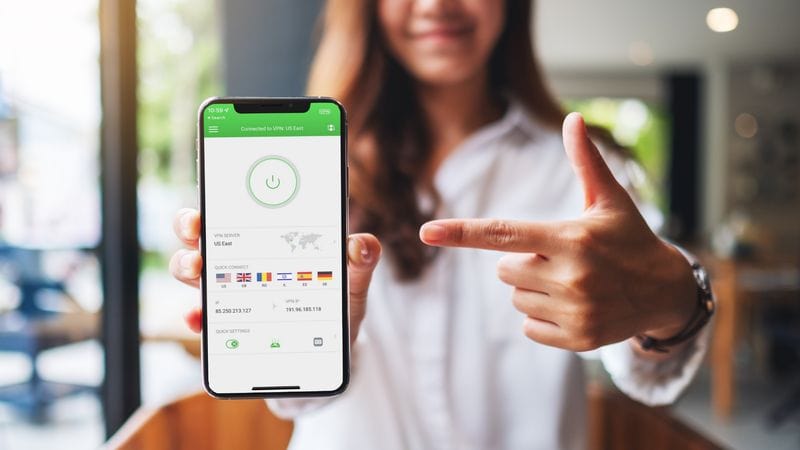
Learn how to use a VPN to get cheaper flights and save big on your next trip.
If you travel a lot, you know how important it is to find the best flight deals. Spending too much on flights means that you have less money to enjoy great meals, fun activities, and cool accommodations.
Have you thought about using a VPN to save money on your next trip? A Virtual Private Network (VPN) can help you get cheaper flights by hiding your location and making it appear as if you’re browsing from a different country.
It’s honestly much easier to do than you might think to use a VPN on flight tickets to save you money.
Why does using a VPN save money?
Airlines and travel booking sites use a pricing model called dynamic pricing. This means that prices can change depending on factors like your IP address, your purchase history, browsing habits, your ZIP code, demand and supply, and even which Wi-Fi you’re connected to, among other factors.
Using a VPN to change your IP address to another location means that websites might show different prices based on that location. This means that if you use a VPN to change your location, you may get a cheaper price if the new location has lower demand for flights.
A bonus is that you can also use a VPN to find lower prices on hotels and even car rentals using the same idea!
Does changing the IP address impact the price of an air ticket?
Important! This is definitely not a guaranteed method of saving money on flights. It really depends a lot on the pricing model the website is using for flights, and whether or not prices vary on location.
Even though this isn’t a 100% guaranteed travel hack, we’ve had great luck in the past booking flights in different countries, at prices that were much less than we’d seen in Canada.
For example, while in Mexico, we found cheap one way flights from Cancun, Mexico to Madrid, Spain for $160 USD all in. Similarly, while in Istanbul, we were able to book a one-way flight from Istanbul, Turkey to Toronto, Canada for just $288, including taxes and fees. That’s far cheaper than we’d found while physically based in Canada.
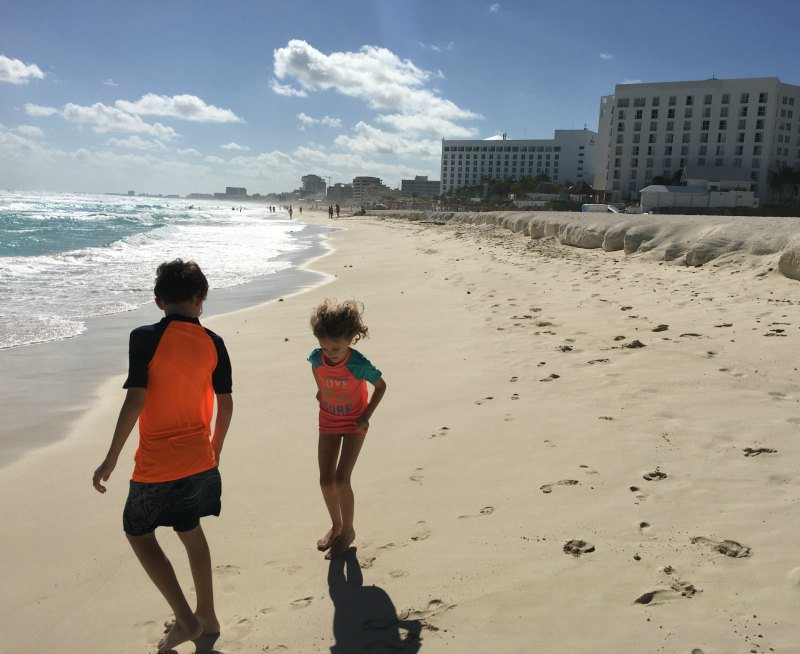
There are plenty of other reasons to use a VPN when you travel as well, including:
- streaming your home country’s Netflix shows or local only websites
- protecting your privacy on the road
- preventing theft of personal information
- accessing social media sites that may be blocked in the country you’re visiting
Couldn’t I just use Incognito mode instead of a VPN?
Your browser’s incognito mode is great for hiding your browsing history from other people on the device you’re using and for less cookie tracking. However, incognito mode doesn’t change your IP address (your devices internet address, which most sites can track and get a rough approximation of your actual address) while a VPN will change your IP and help keep you anonymous.
Since your location is attached to your IP, incognito mode means that your location will still show to flight websites.
Can just changing the language save money on flights?
We occasionally see stories that changing the language on a website can save money on flights.
We’ve tried this language changing hack in the past, and had mixed results. It also means that you’ll need to book flights in another language. If you don’t speak the language fluently, even with Google translate, you do run a risk of not understanding the terms and conditions fully.
How to Use a VPN to Get Cheaper Flights
Here’s our step-by-step guide on how to use a VPN to save money on your next flight, in five easy steps.
Step 1: Choose a Reliable VPN Provider
The most important step, in my opinion, to using a VPN is choosing a reliable and safe VPN partner. They’re not all built the same, so it’s absolutely crucial to choose a reputable, safe VPN.
A good VPN should offer IP addresses in many different countries, strong encryption, and a no logs policy.
These days, I’m using Private Internet Access.
Private Internet Access (also known as PIA) is great at hiding your IP address and encrypting your internet connection. All PIA apps are 100% open source, meaning that you, and security experts, can look under the hood to see how everything works.
PIA has over 30 million downloads, and has been around for more than 10 years. It offers thousands of next-gen servers in over 83 countries and each US state, and there’s unlimited bandwidth.
This one’s hugely important for security, so I’m going to go full geek for just a couple of sentences here, and explain what everything means along the way. Here goes: PIA has an independently audited (by Deloitte) no-logs policy.
A no-logs policy means that the VPN provider doesn’t keep any record of what you do online. There’s no record kept of IP addresses you use, data you transfer or websites you visit, keeping your online activities totally secure and private.
If a VPN provider keeps logs, this means that someone could potentially access this information. The logs could be accessed by hackers, authorities, or simply advertisers. With a no-logs policy, there’s simply no information for the VPN provider to give out, even if they receive a request for user data, or if they’re hacked. A no logs policy helps keep your privacy protected and your sensitive information safe. And Private Internet Access is a great choice for this.
It’s also important to mention Private Internet Access can protect up to 10 devices simultaneously with just one subscription. This means you can use it for yourself and the people you are traveling with.
And if you ever have any questions, or would like more tips and tricks, Private Internet Access has a 24/7 Customer Support service, ready to cater to your every need.
Step 2: Download and Install the VPN Software
Once you’ve chosen a reputable VPN provider like Private Internet Access (PIA), download and install the VPN software on your device.
Just visit the VPN provider’s website, choose the plan that suits your needs best, and follow their instructions to download and install the VPN software.
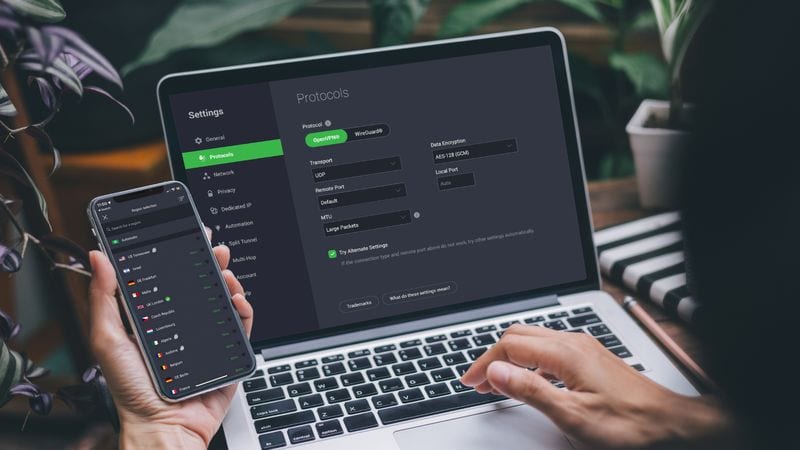
It took me less than five minutes to download and install the PIA VPN software on my desktop. The process is intuitive and fast.
Step 3: Connect to a Server in the Desired Country
The next step is what intimidates most people, but it’s honestly incredibly simple.
Using your VPN, connect to a server in the country where you want to appear as if you’re browsing from.
Important: If you’re logged into your internet browser, be sure to log out. If you’re logged in, Chrome, Bing, or other browsers set your location based on your account information, overriding the change you’re making with the VPN. Also make sure you’re logged out of any airline or travel booking websites, for the same reason.
For example, if you want to book a flight, while appearing as if you’re in Mexico, you’ll need a VPN to connect to a server located in Mexico. This will make it appear as if you’re there, even if you’re actually in another country.
With Private Internet Access, all it takes is one click to connect to a server. Then you’re ready to start browsing and find those sweet, sweet deals.
Which is the cheapest country to set your VPN location to for the cheapest flight bookings?
There’s no firm answer to what’s the most affordable country to book a flight from. Prices can vary greatly, depending on both your departure date and destination.
That said, in the past, we’ve had good luck with these destinations:
- Mexico
- India
- South American countries, like Peru or Argentina
Other flight hackers often mention:
- Malaysia
- Philippines
- Singapore
- Australia
- India
- Portugal
- Thailand
So, you may have to play a little bit by changing your location a few times to see what lands you the cheapest flight.
Step 4: Start Searching for Flights
Once you’re connected to your desired country’s server through the VPN, start searching for your flights.
Try a travel booking website to start, as this will give you multiple flights and airlines to choose from. After that, be sure to try the airline directly, as prices sometimes differ directly from the airline and a booking website.
Prices will reflect the country you appear to be browsing from.
Tip: When at all possible, we book with the airline directly, as this makes changes to flights and communication easier. If you’ve ever had to deal with a large, faceless, travel booking website when changing a ticket, you’ll understand how frustrating the experience can be.
If you don’t find a good price, try changing your VPN’s country again.
For international flights, I get a baseline price by first searching from my home country. Then, I set my VPN to the country I’m flying to, to see if the flight is cheaper. If this doesn’t get a cheaper flight, I set my VPN’s country to the home country of the airline. After that, I start searching through the list of countries above, in step 4.

Step 5: Compare Prices and Book Your Flight
After you’ve searched for flights, it’s time to compare prices and book your flight.
Make sure to compare the prices with other airlines and travel booking websites to ensure that you’re getting the best deal. If you find a cheaper flight, consider booking it immediately, as prices can change quickly.
Important tip! Before you book, check the terms and conditions. I once found fantastically cheap flights from Quito, Ecuador to the Galapagos. Unfortunately for me, when I checked the terms and conditions, I found those cheap prices only applied to citizens of Ecuador. The flights were about 20% more expensive for us.
Step 6: Change the VPN’s location back
Once you’ve booked your flight, don’t forget to change the VPN location back. This makes sure you can keep browsing and downloading based on your default location.

So, does using a VPN to change your location get you cheaper prices?
The answer is yes. Sometimes it can be a simple, affordable, and effective way to save money on your next trip.
By hiding your location and making it appear as if you’re browsing from a different country, you can access lower flight prices and get more value for your money.
Just remember to choose a reliable VPN provider like Private Internet Access (PIA), connect to the desired country’s server, search for flights, compare prices, book your flight, and disconnect from the VPN.
Happy travels!


